If you're new to SharePoint, configuring a team site can seem daunting. But with this beginner's guide, you'll learn the basics of setting up and organizing your first team site quickly and easily. From choosing a template to adding content and managing permissions, this guide will take the guesswork out of creating a SharePoint team site.
Understand your business goals and the process
Before setting up a SharePoint team site, it's important to understand your business goals and how the site will support them. Consider what information and resources your team needs to collaborate effectively and efficiently. This will help you choose the right template and organize the site in a way that meets your team's specific needs. Additionally, having a clear understanding of your business goals will help you determine who should have access to the site and what level of permissions they should have.
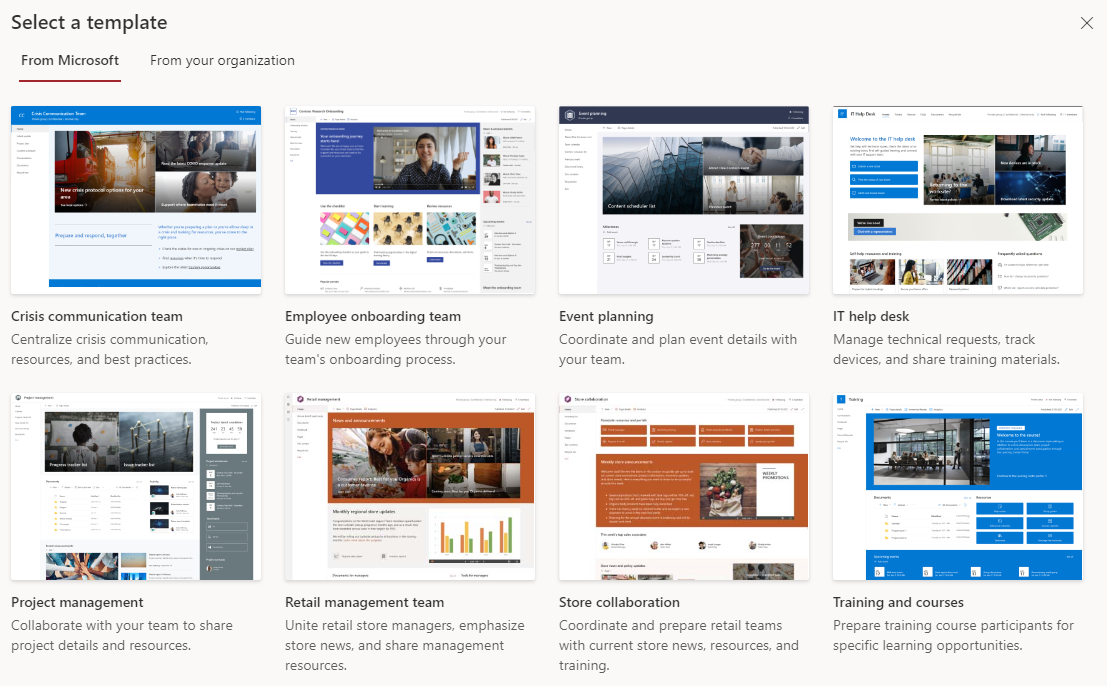
Once you have a clear understanding of your business goals, it's time to choose the right template for your SharePoint team site. SharePoint offers a variety of templates, each designed for a specific purpose. For example, if your team needs to manage projects, you may want to choose the Project management template. If your team needs to share documents and collaborate on content, you may want to choose the Team collaboration template. Once you've chosen the right template, you can begin organizing the site by creating lists, libraries, and pages that will help your team work more efficiently.
Finally, it's important to determine who should have access to the site and what level of permissions they should have. SharePoint offers a variety of permission levels, from read-only access to full control, so you can choose the right level of access for each member of your team. By following these steps, you can create a SharePoint team site that supports your business goals and helps your team work more effectively.
Create your team site
To create a team site, log in to your Microsoft 365 account and navigate to the SharePoint home page using the waffle at the top left.

From there, click on the Create site button and select Team site. You'll then be prompted to enter a name and description for your site, as well as choose a site address and language.

You will also be asked to add members to your site. You can ignore this for now, because you will automatically be added to the site as an owner, and you can add other members later when your site is ready. Once you've filled in all the necessary information, click Create to create your new team site.
Choose the appropriate template for your SharePoint site
Once you’ve created your SharePoint team site, it's time to select the appropriate template that aligns with your team's goals and needs. To apply a template, navigate to Settings and select Apply a site template from the menu.

SharePoint team sites offer a variety of templates, including team collaboration, communication, project, and planning templates. Consider your team's specific needs and goals when choosing the appropriate template for your SharePoint team site.

Create a content structure with libraries and lists
One of the key features of SharePoint is the ability to organize and manage content using libraries and lists. Before you start adding content to your team site, you should create and configure libraries, lists and folders to meet your specific needs. Read more about libraries vs folders.
This will ensure that all content added to your site is consistent and easy to manage. To create a new library or list, go to the Site Contents page and select +New and Document library or List.

Adjust permissions within your site
Once you have created your SharePoint team site and containers for content within it, you will need to adjust permissions to ensure that the correct users have access to the correct information.
SharePoint allows you to assign permissions at the site level, list or library level, and even at the individual item level. You can also create groups with specific permissions to make it easier to manage access for multiple users.
However… When you’re just starting out, we recommend you keep permissions simple and only add and remove people from being owners or members using the team site membership panel.

Clicking on member in the top right of the page will open the Group membership panel where you can add members and set their permissions.

Owner and member permissions work like this:
- Owners can add members and control all settings within the site (and even delete the site)
- Members can create new content and edit it, but cannot add other members or control the settings of the site.
Bear in mind that members can share individual files and folders with others outside the team site, so you need to communicate clearly what the policies around this are.
By adjusting permissions, you can ensure that users have the appropriate level of access to the site and its content.
It's also a good idea to periodically review and adjust permissions as needed to maintain security and organization within your SharePoint Team Site.
Read more about the modern permission framework. Once you become more confident with your permission management capabilities, you can start exploring giving users read-only access to certain documents while allowing others to edit and collaborate.
Ready for more?
Team sites with libraries, lists and folders can meet most needs. But what if you need more customisability and consistency?
You can also create custom content types to ensure consistency across your site and configure metadata to make it easier to search and filter content. Read more about the differences between folders and metadata.


