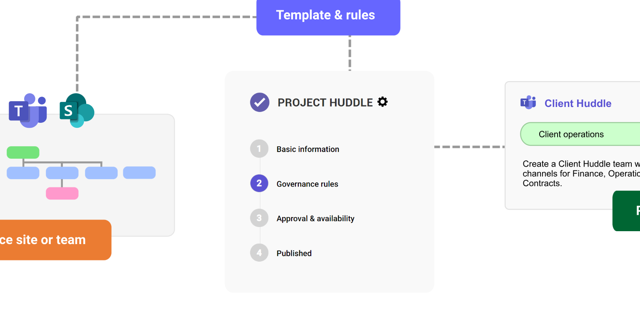
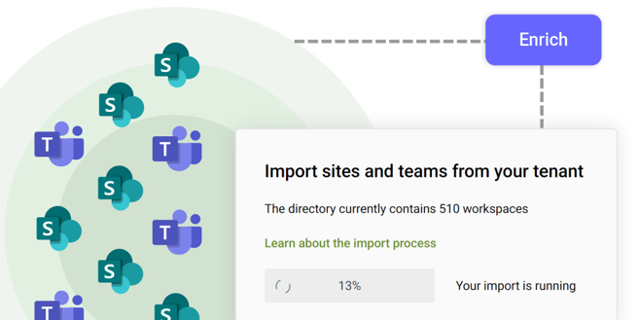
Your end-users interact with SProbot through the Teams app, which they use to browse and search the Workspace Directory, create new workspaces, and view their existing creation requests.
Please follow these steps to complete publishing of the app in your tenant and make it available to your users to add to Teams.
Step 1 - Approve API access for the SProbot API
In your SharePoint admin center, go to Advanced > API access, select the SProbot API under Pending requests and approve it.

Step 2 - Make the SProbot app available in Teams
After you've approved API access, the next step is to make the SProbot app available in Teams. Open the next left menu item (More features) find the Apps panel and open it.

Select the SProbot app in the Apps for SharePoint list and then Add to Teams.

Once you've added the app to Teams, you can optionally manage it using the Teams admin center to deploy it to all users, some users, enable requests, etc.
Step 3 - Add the app to Teams
Once the app has been granted API access and it's been made available to Teams, you will be able to search for and individually add it to Teams. In the left pane, open Apps, and then look for Workspaces under the Built for your org section (or search for "Workspaces").

When you click Add you'll see all the details, click Add again to complete the process.

Once it's been added, you'll see it in your left pane.

Learn how to use the Teams app here.

More guides

This guide provides an overview of the initial onboarding steps needed to start using SProbot.

An explanation of how SProbot extracts, processes and stores metadata about SharePoint

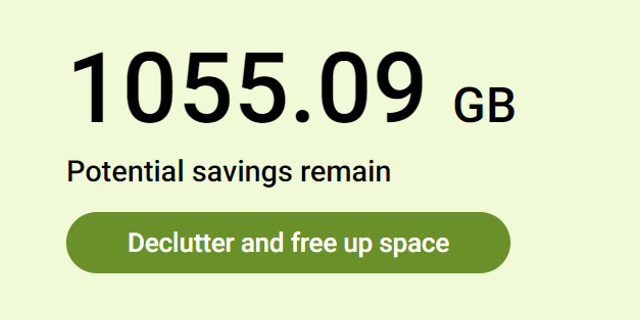
Use the tenant cleanup tools to remove unwanted duplicate, test, empty, inactive and orphaned content, and to reassign ownership of SharePoint sites and teams.


