SProbot templates define the contents and rules for SharePoint sites and teams. You can use a template to govern the creation of new workspaces, or apply it to existing workspaces using the admin tools.
Once you have connected to your tenant you will be able to create your first template.
Step 1: Create a new template
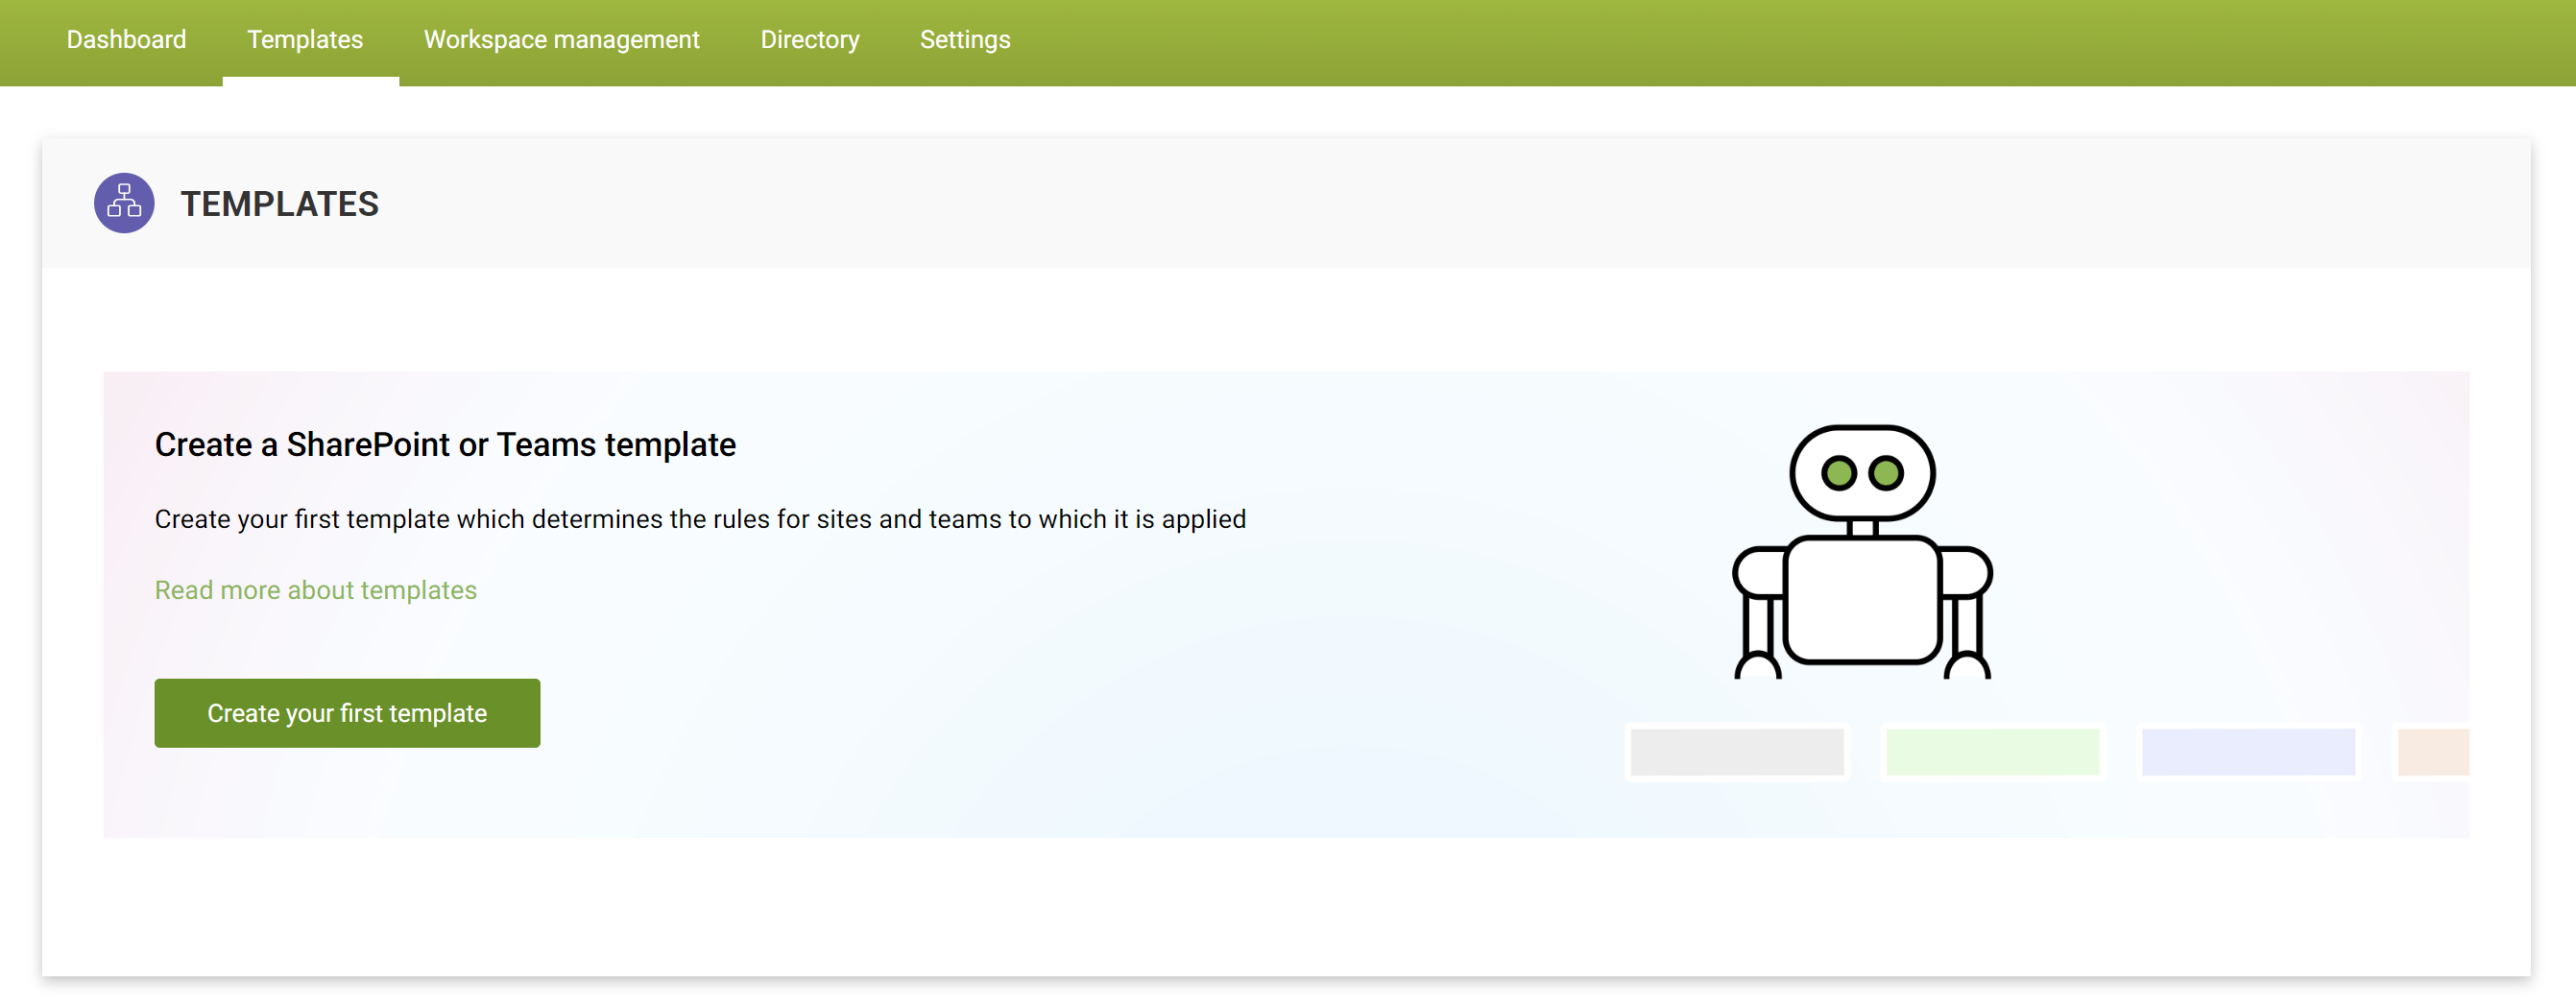
Navigate to Templates, click Create your first template.
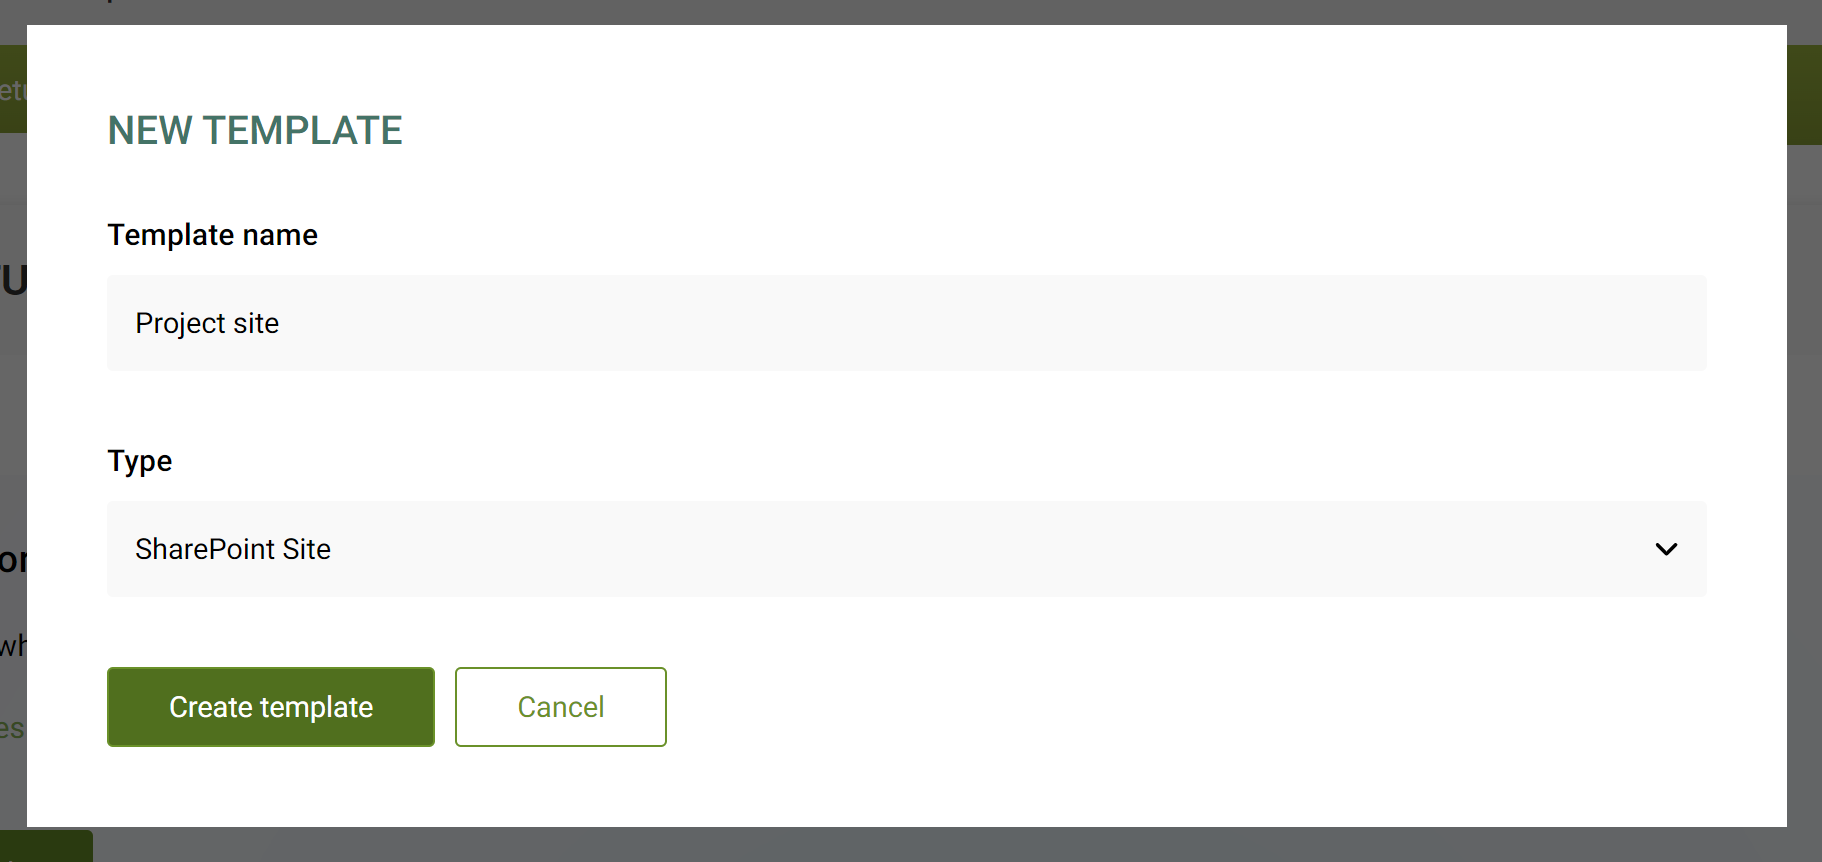
Name your template and select the type (SharePoint site or Team)
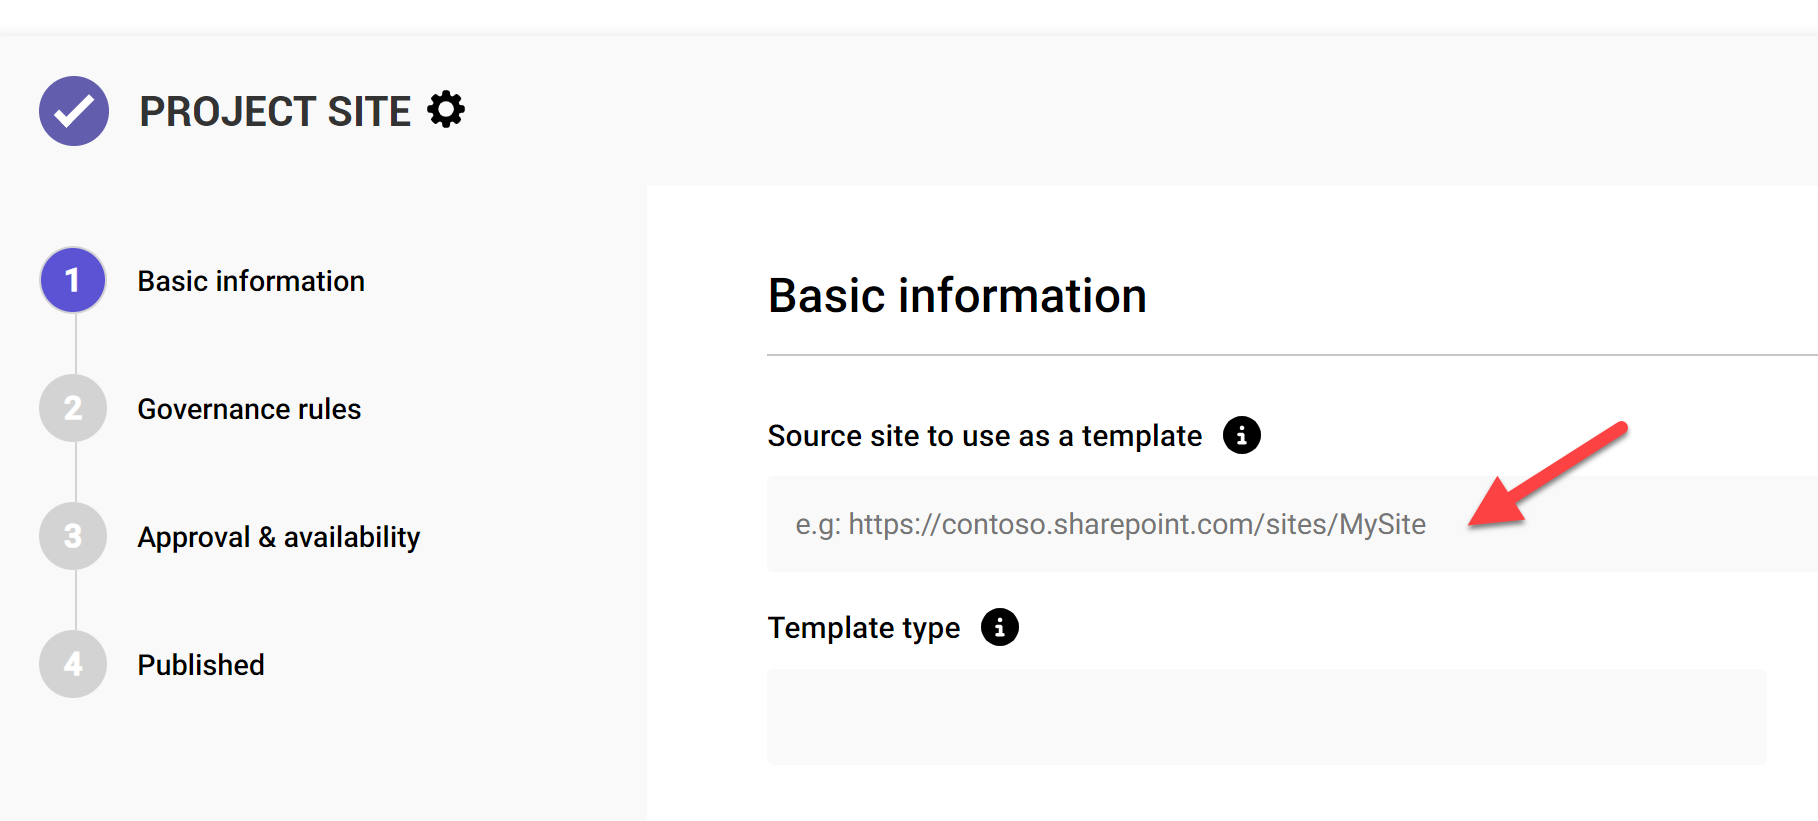
Step 2: Point to a source site or select a Teams template on your tenant
Depending on whether you're creating a SharePoint or Teams template, you define the structure by:
- Pointing to a source SharePoint site to use as a blueprint
- Selecting one of the existing Teams templates managed on your tenant
Point to a SharePoint source site
Before you point to a source site, it is important to understand how snapshots work and which SharePoint configuration elements are included and excluded.
You can use any SharePoint site (Communication site, Team site, SharePoint site without a group) as a source.
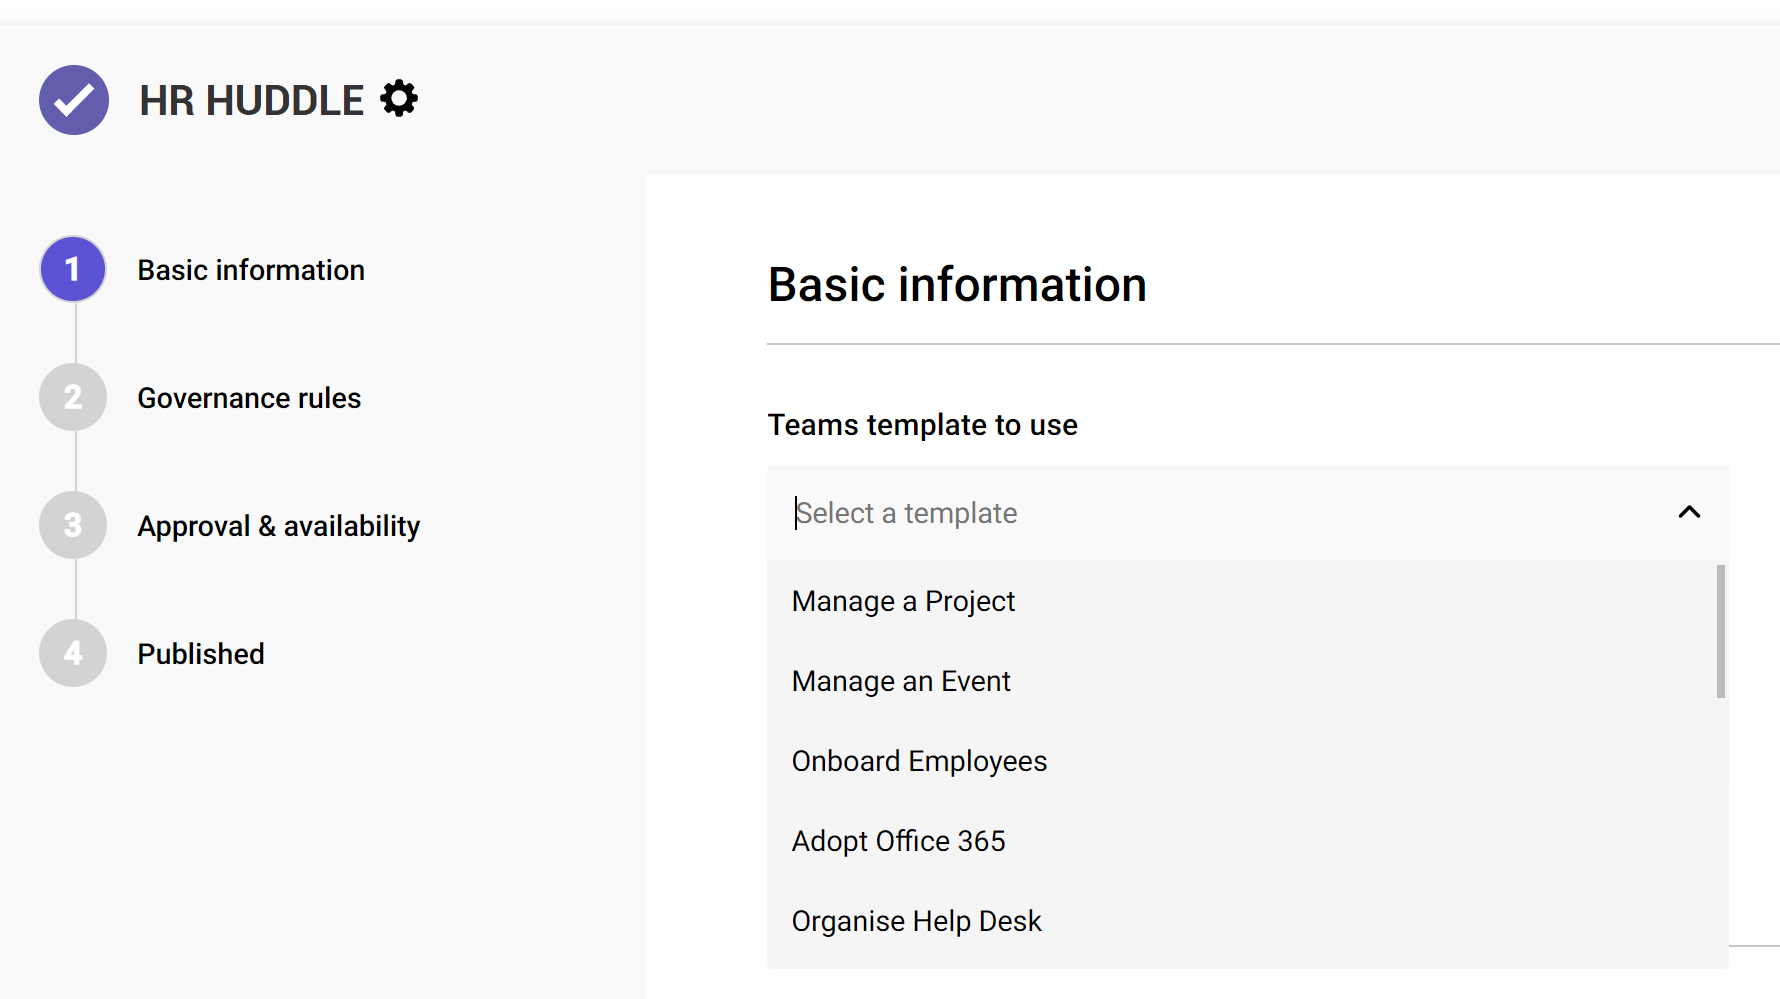
Select a Teams template
You can use any Teams template configured on your tenant as a source, including both out-of-the-box templates like those listed below, or custom templates you have created.
Step 3: Basic information
The basic information step enables you to define:
- The global category to assign in the workspace directory - Select from the categories you have created to enable logical classification. All workspaces built with the template will have the selected category assigned in the workspace directory.
- The text description shown at the top of the request form - This text explains to users what they can expect when requesting a workspace with the form. Use it to describe the channels, folders, libraries and other structural elements included in the template. It's also a good idea to explain the purpose of workspaces created using this template, so it's perfectly clear when to use it and when not.
- Whether users are required to provide an individual workspace description - If you check this box, the Description field on the template's request form is mandatory. This ensures that people who request workspaces properly explain the intended purpose and contents, making it easier for everyone to find what they need.
- Who should be notified when workspaces are created - Individuals you select here are included in notifications sent when workspace builds are successfully completed, in addition to those who are selected as owners on the request form.
Save and next saves these settings but does not yet publish the template to make its request form available in the Teams app.

Step 4: Governance rules
The rules you define in this step are enforced on all workspaces created using the template and enable you to control how workspaces are named, how they're owned, and what security rules are applied.
Naming & Association
- Name and URL prefix - This prefix is added to the title and URL of Teams and SharePoint team sites created with the template. If you include spaces, they will
- Prefix name with - It's a good idea to keep this prefix short to prevent it from causing long team names from not being fully visible in the left panel of the Teams app.
- Prefix URL with - The URL is automatically derived from the site/team name at request, so the complete URL at that point will be compromised of the prefix and the name entered by the user. In the example below, if the user enters the name as Client 123, the URL will be created as cp-client123.

- Hub site - Sites registered as hubs on the tenant can be selected, and team sites (or linked team sites in the case of teams) created using the template will then inherit the navigation, theme and some permission settings from the hub. Read more about hubs.
Ownership
- Minimum number of owners - This setting is enforced on the owner(s) field on the request form. Having at least 2 owners helps prevent teams from becoming orphaned easily.
- Limit owners to a group - This enables you to prevent anyone outside the selected group from being set as owners at the point of creation. When completing the request form, the Owner(s) field label indicates that it's limited to the group only, and when using the field, only owners and members of the group are returned and selectable.
- Always add these people as site admins - Anyone in this field will always be added to the Site Collection Administrators (also known as Site Admins in modern sites) group.
Access control
- Sharing settings - This setting defines how the owners and members of workspaces are able to share them. This setting can be changed by site owners, read more about limiting sharing by default.
- Allow access requests - This sets the standard toggle in the Site permissions > Sharing settings menu and can also be changed by site owners.
- External file sharing - This sets the sharing setting for the SharePoint site itself (governed by the tenant-wide policy which takes preference) and cannot be changed by site owners. For Teams, this does not effect the group membership and he ability to add external users to the team and its conversations, it only affects the SharePoint site (and thus the Files tab). The setting can be:
- Anyone - Both internal and external/guest users (whether they have previously had access or not) are allowed.
- New and existing guests
- Existing guests
- Only people in your organization - This locks the site down for internal use only and is recommended for templates aimed at sensitive content.
- Allow guests to be added to the group - Enabling this allows guests to be added to the Microsoft 365 group, which in the case of a team gives them access to the team's conversations but not necessarily to the Files tab. Read more about preventing guest access.
- Prevent folder creation - This option is only available for Teams templates, it removes the New folder button within the default document library inside the SharePoint site for a team. Owners are able to revert this setting if they want to, and it also does not apply to any additional document libraries created in the site
Storage
- Storage quota - If you've configured your tenant for manual site storage limit management, this will apply the specific GB value you specify to sites created with the template.
- Quota notification - This setting overrides the default quota notification of 98% if specified.
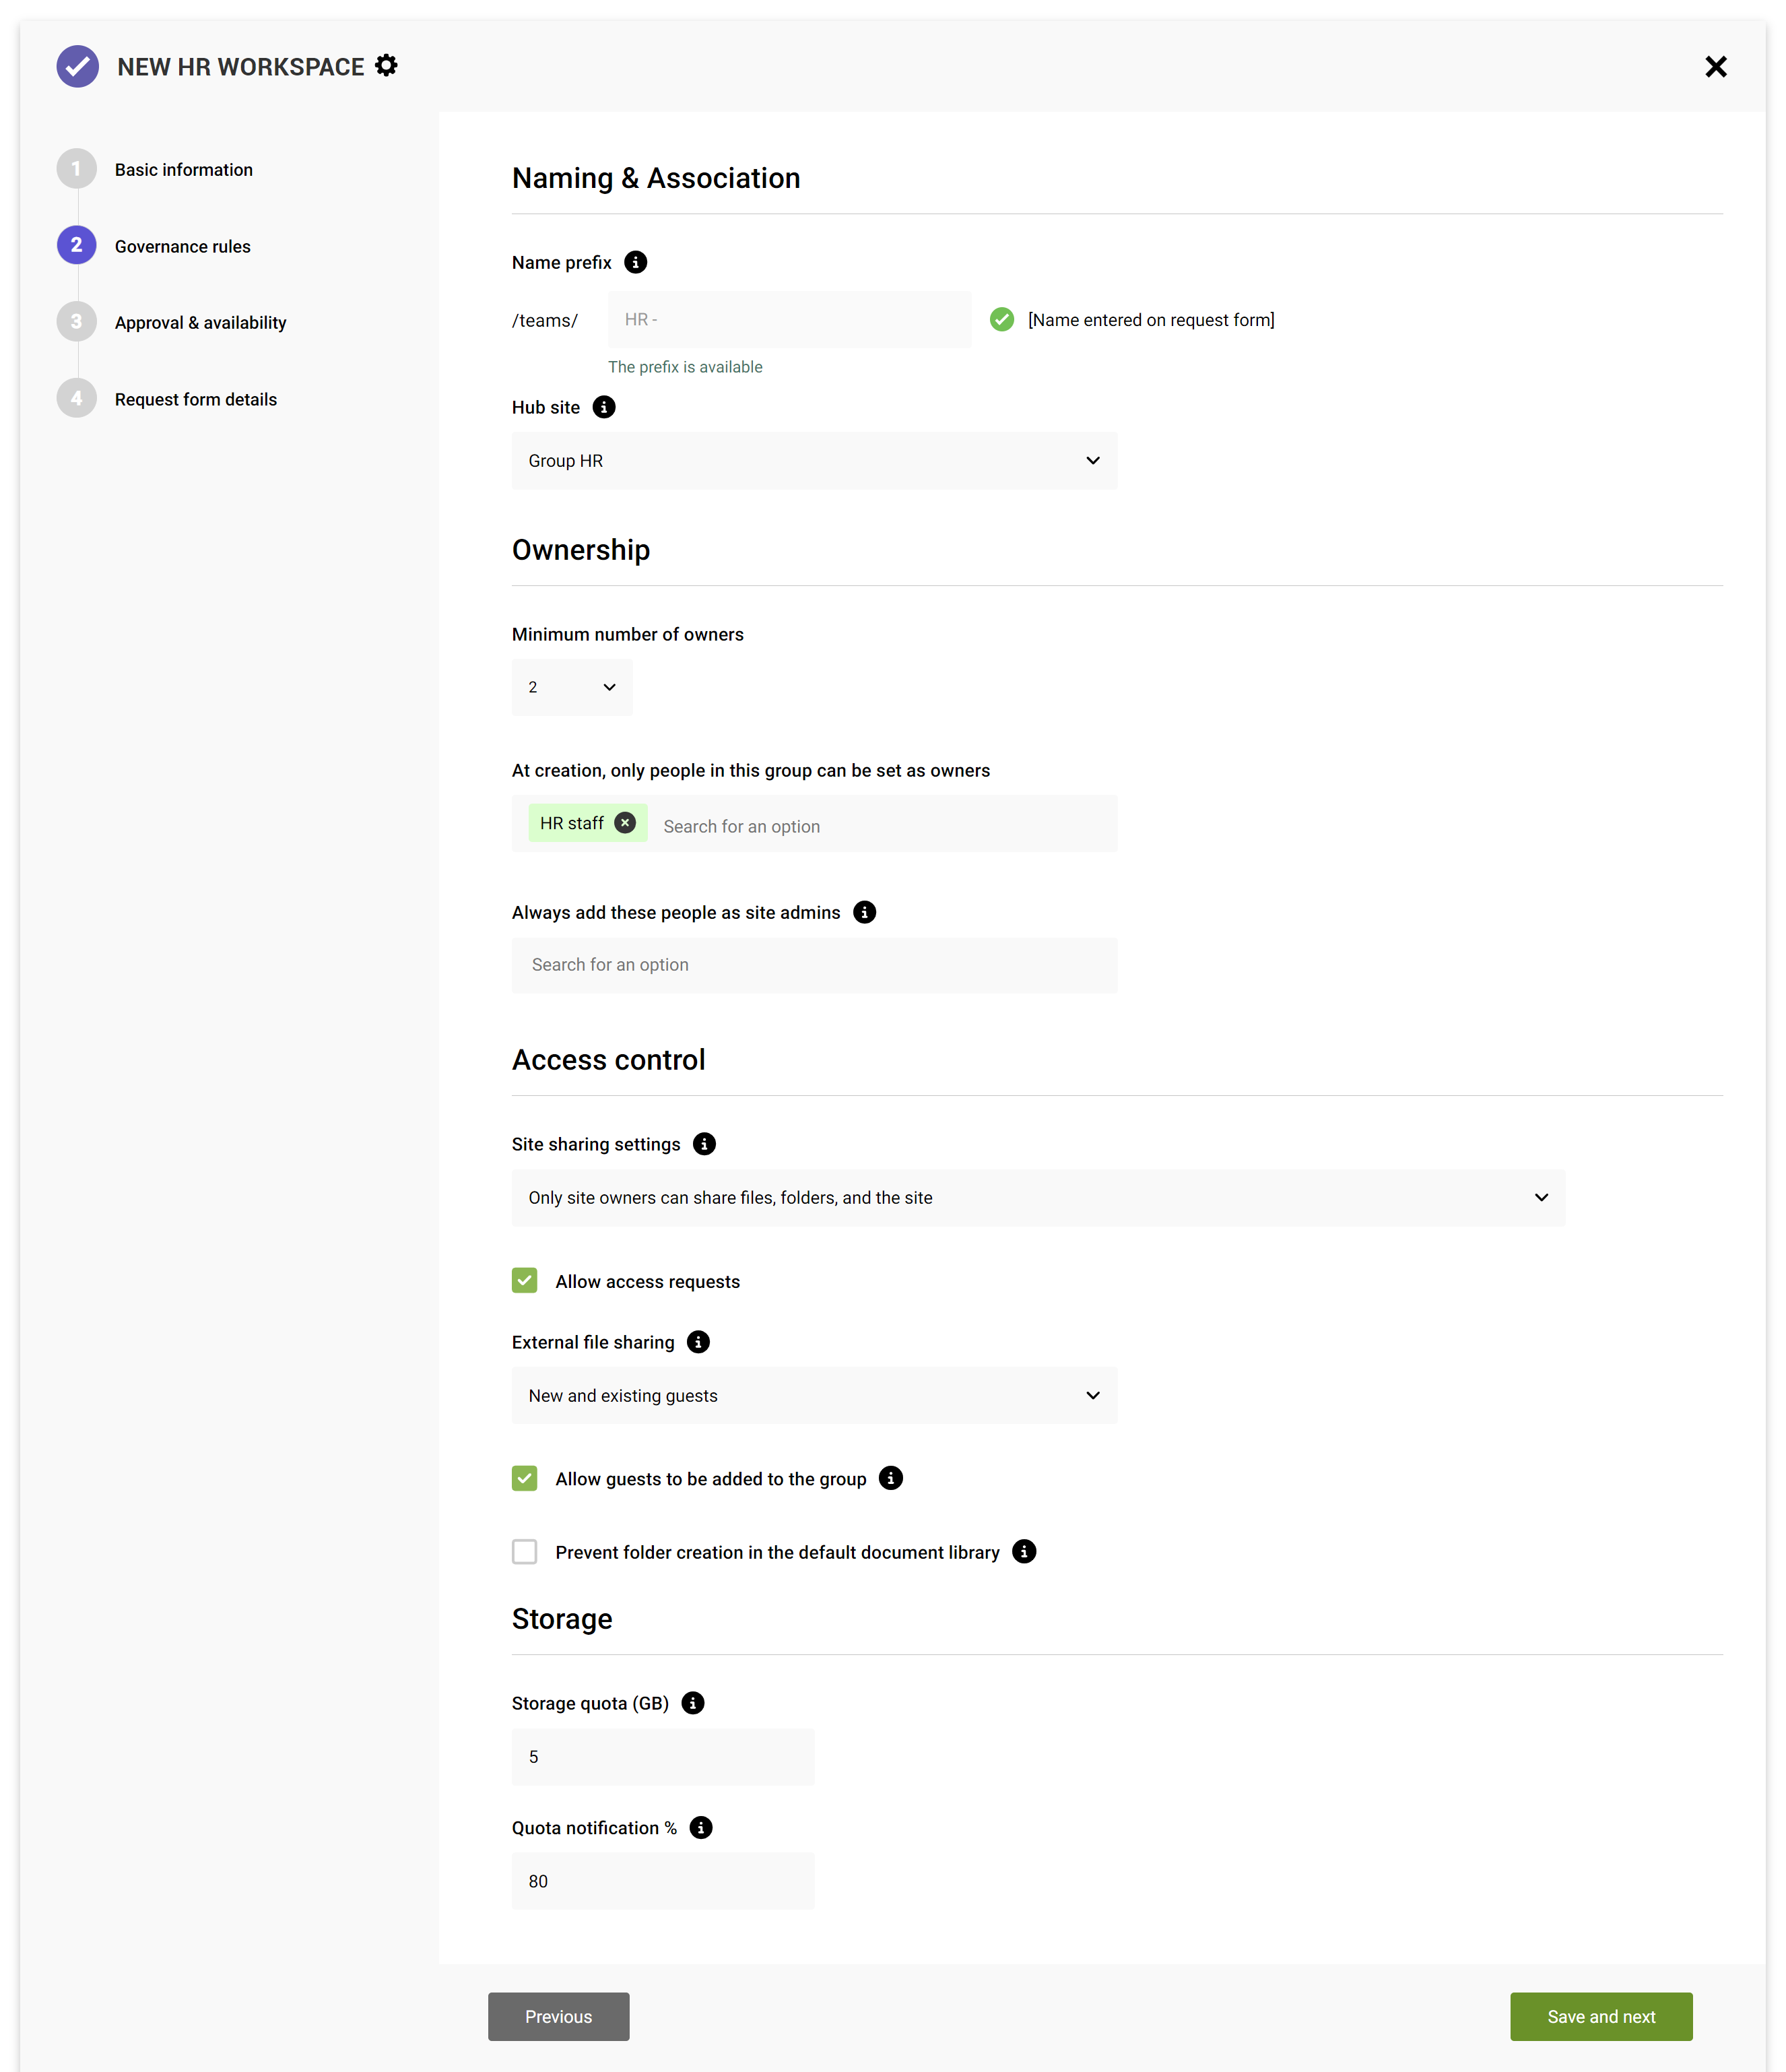
When you’re happy with your changes, save them. You do not need to complete all steps, a save on the screen the setting appears on is effective immediately.
Step 5: Approval & availability
The rules you define in this step are enforced on all workspaces created using the template and enable you to control how workspaces are named, how they're owned, and what security rules are applied.
Naming & Association
Approval
- Require approval - When you enable approval, all workspace build requests made using the request form need to be approved by the users you define before they are actioned. Read more about workspace approval.
Availability
- Limit access - If the request form should only be available to some people, you can select them here. You could for example limit the creation of HR project sites to HR staff only by selecting an appropriate group (Microsoft 365 groups and Azure AD security groups are supported, but mail-enabled AAD security groups are not currently supported).
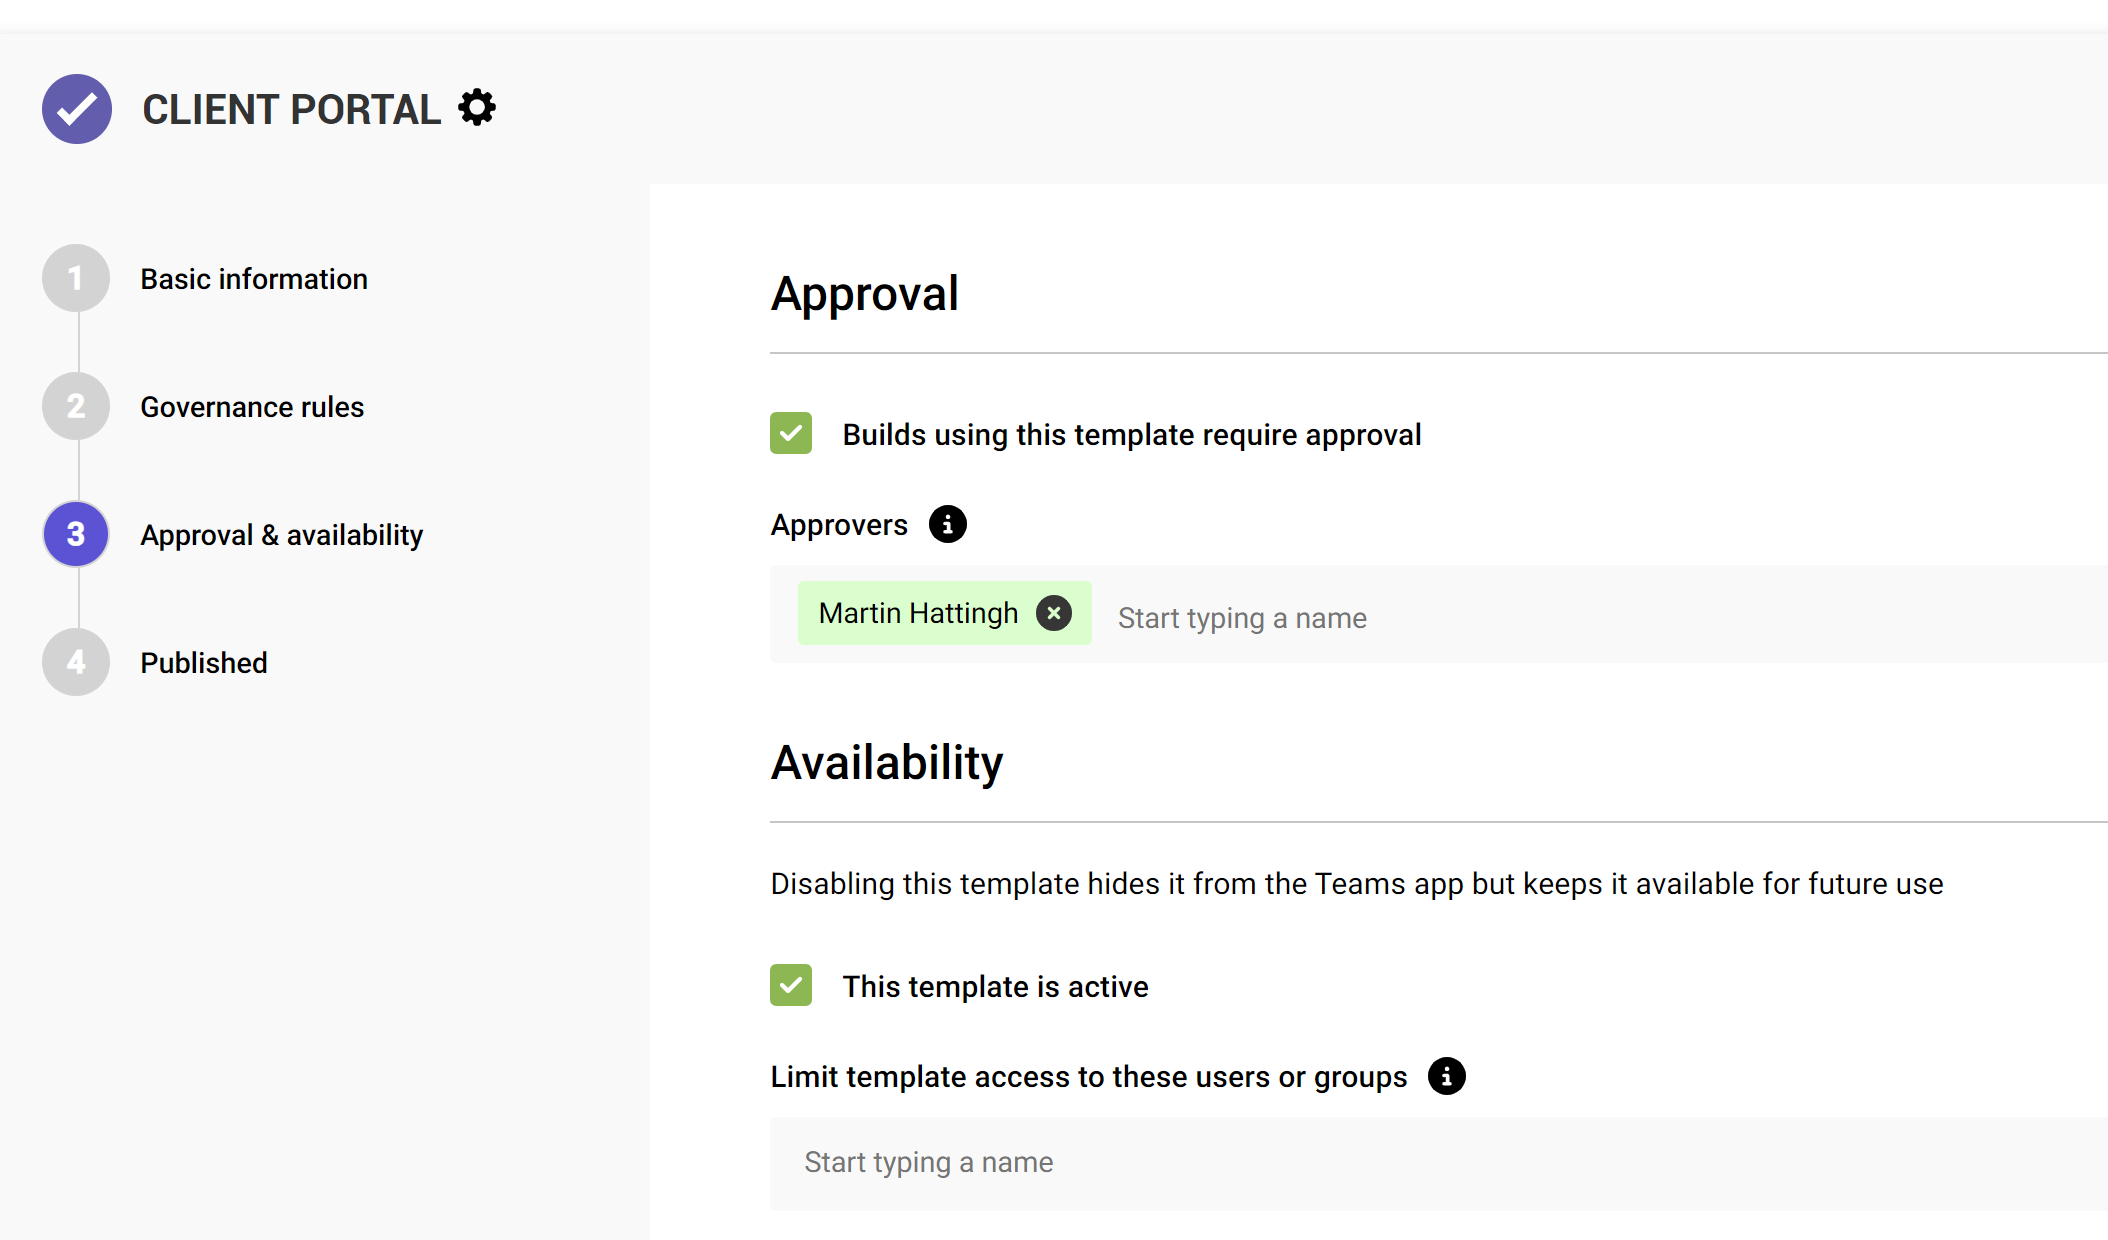
If you’re not ready for your users to start requesting builds yet (or you want to make the request form unavailable at a later point) you can toggle this setting as inactive.
What's next?
Once your template is published, it's easy for users to use the Teams app to view available templates and request a site or team to be provisioned for them.
When someone requests a workspace, their request is added to the build queue and is usually initiated and completed within a few minutes. When it completes, people specified as owners and those selected as notification recipients receive a confirmation email.
Editing a template
You can view and edit an existing template at any point. You cannot change the source, hub site or name prefix once a template has been published, but you can change:
- The template's name (which is the title of the request form)
- The description shown on the request form
- Who is notified in addition to owners when builds complete
- The minimum number of owners
- Sharing and guest access settings
- Who the template is accessible to
- Whether the template is active or not

More guides
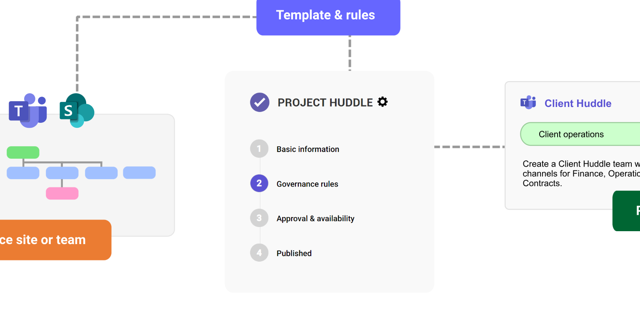
This guide provides an overview of the initial onboarding steps needed to start using SProbot.
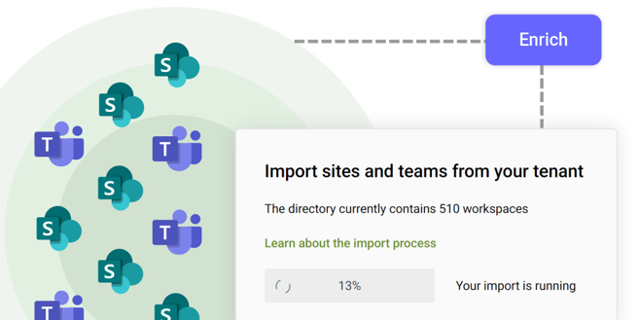
An explanation of how SProbot extracts, processes and stores metadata about SharePoint
Use the tenant cleanup tools to remove unwanted duplicate, test, empty, abandoned and orphaned content, and to reassign ownership of SharePoint sites and teams.


